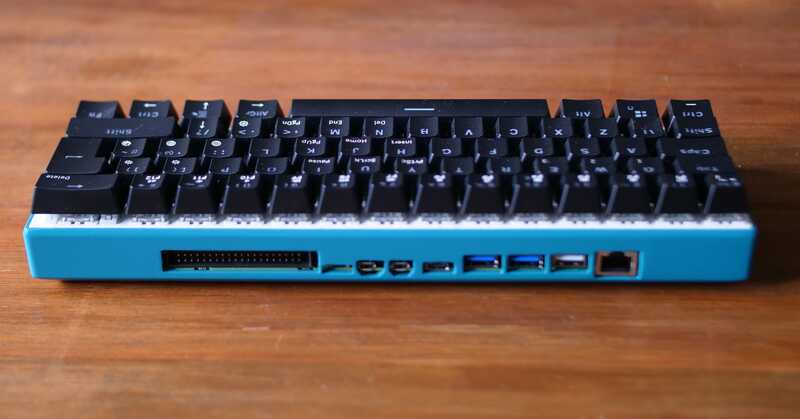
So I've been working on this for the last couple of days and it's not finished yet but it should be soon.
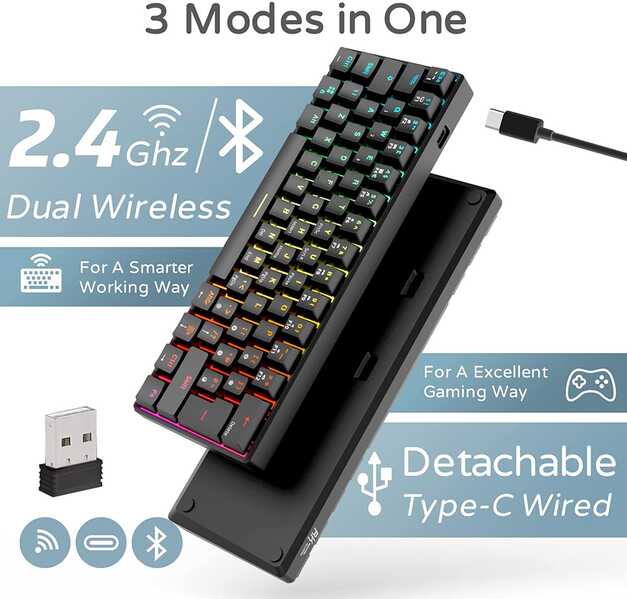
I basically took the Royal Kludge RK61 60% keyboard as my base. I chose it because it was relatively cheap compared to other options out there and the housing is made out of plastic, which is easier to work with than metal. I'm not exactly happy with how my I/O ports turned out but if I was to do a round 2 on this I learnt enough to get it right the second time.
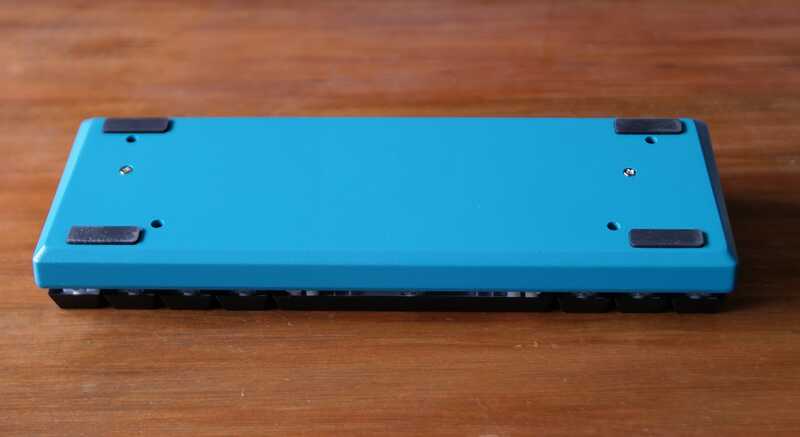
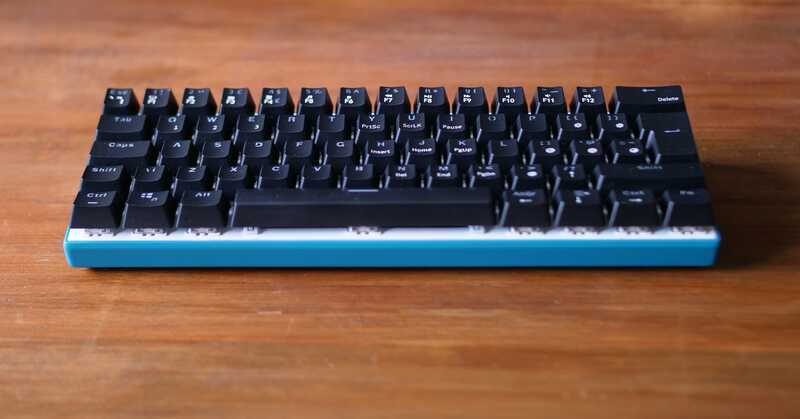
I haven't colour graded the photos and I also used a lens that bokeh's everything because I was too lazy to just go upstairs and change it so there might be some slight blurring and the colour is waaaaay off.
It's a much darker teal than the pictures make it look.
Things I've done
Removed the battery
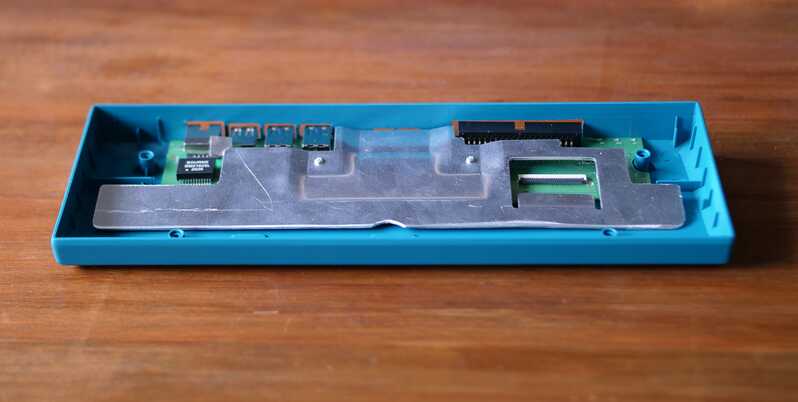
Cut away a lot of plastic supports to make space for the Raspberry Pi and heatsink
Cut down the heatsink so it doesn't foul against the underside of the keyboard.
Added two supports for the Pi 400 / anchor points for the heatsink. (It's just the same as it is inside the normal Pi 400 housing.)
Filled in the holes on the underside of the keyboard that were for the switches on the keyboard and the USB dongle.
Added some risers to the keyboard to make sure it doesn't foul against any of the new internals.
Cut out the I/O holes on the back of the keyboard base.
Things I still need to do
Actually internally wire the keyboard to the Pi 400 so there are no wires outside the board.
Colour the aluminium baseplate for the keys black.
Things I might do
Change all of the keycaps to a different colour.
Make a case / sleeve for it.
Add an internal m.2 SSD.
Awesom
how are you planning to wire internally?
also how did you lift up the keyboard pcb do you have a picture of it ?
@phreaky Well I was going to just tie into the USB-C port but it was a massive pain, so then I took the USB-C port off and it all went downhill from there. Some of the traces came off and so did an SMD part. I wired into other points and I've managed to get the keyboard to power up but it's still not happy. No data being sent but it does light up...I'll keep working on it and hopefully sort it out soon.
Wiring into the Raspberry Pi 400 is nice and easy because they give you solder points on the PCB for most components.
In terms of lifting the keyboard I just used standard standoffs / risers like you would use on a PC motherboard. I'll take a picture later.
Aah damn that sucks I hope you can get it up and running again.
are you happy with the chosen keyboard been reading some reviews about it and they are not great

