
Notifications
Clear all
Computers & IT
143
Posts
55
Users
28
Reactions
26 K
Views

@hiddenvector sure, there are some usb c ports which are normal, so double check which port supports display output.
Posted : 27/08/2026 1:16 pm

@armonius_ No, I've never worked with metal, though I think it's a great material for these sorts of builds. I do have a 3D printer, but I got it long after I gave up the iMac build. As for what you're planning to do, I'm going to tell you what I told the other guy and say go for it! I think you're doing something pretty difficult--especially the bit about trying to fit a 23.4" monitor into a 21" case--but that doesn't mean it's impossible. If I understand correctly and you want to try and fit that larger monitor into/onto the iMac case, it's probably worth looking into replacing its current electronics with a single control board, as that would really help save space. You can find control boards for LCD panels by checking the panel model number and typing it into eBay, along with the words "control board". Matt has a video on it (two actually), both for portable monitor builds.
My worktable is a site of frequent detonations. Please knock so I don't start a Lithium fire when you startle me.
Posted : 27/08/2026 2:25 pm

@imp-inventor Oh no I'm simply talking about fitting my laptop motherboard and some different speakers into the 2011 21.5 inch IMac... if i had a 3d printer i wouldn't even bother with the IMac.. I would have just worked with the the Hp monitor and made some custom case for it.. the optimal choice would have been the hp monitor, but i dont have the tools or experience to make a custom case and the IMac build is actually easier than the a custom case for me when most of it boils down to fitting a sub plate
I bought most of the parts on AliExpress already yesterday... I still need some nylon washers (thinner than 2mm pcb standoffs), aluminum sub plate, and a bigger power brick to run them all...
i need to try to gain some experience soldering though before they come though.. i have a kinda crappy soldering station i bought years ago that i never used before and i need to gain as much experience as possible with it to make sure i dont mess anything up
Posted : 27/08/2026 7:34 pm

@muzammil17 checked, still no access to BIOS. I'm sure it's the right usb-c port because I get a video signal once the OS boots.
Posted : 28/08/2026 1:03 pm
@hiddenvector is the BIOS setup key for your specific laptop model correct? And I think you can change the igpu to dgpu in windows.
Posted : 28/08/2026 2:34 pm
@muzammil17 when you say BIOS setup key you mean the key to get into BIOS on startup? If so, it's correct, it's [Delete].
I can "get into" BIOS (confirmed by pressing [F10] then [enter] to save and exit and restart the PC) I just can't see anything while there. The mobo just doesn't push any video to an external display until the OS loads. I can blindly navigate the BIOS menus and change settings if I wanted but am trying to avoid that haha.
I'll look into if I can change the GPU priorities in Windows and if that changes anything.
Posted : 28/08/2026 7:34 pm
Muzammil17 reacted
@hiddenvector alright, make sure to update here, if you found a solution to get into BIOS.
What are your plans for this motherboard? Are you going to use it as a separate gaming machine like matt used or building a "mac machine"?
Posted : 29/08/2026 3:49 am

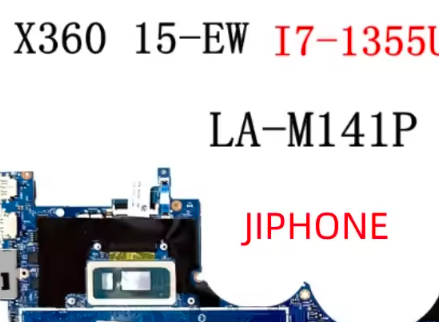
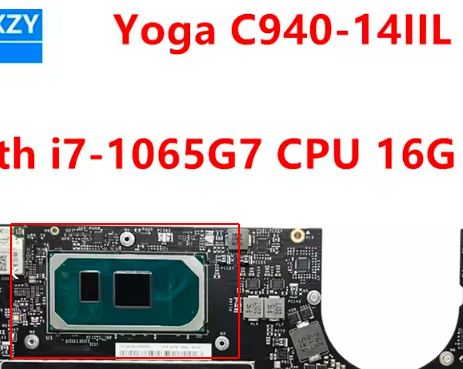
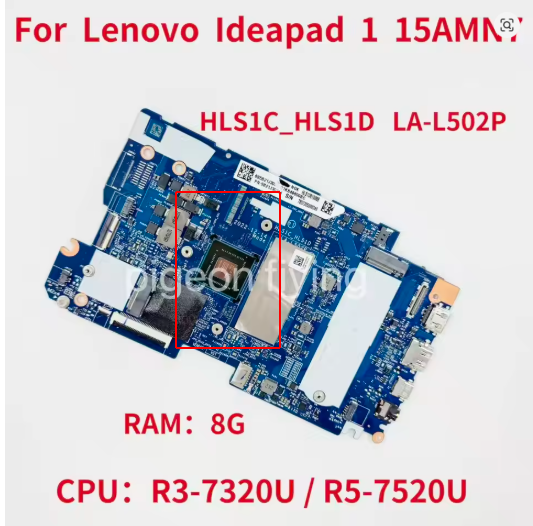
@diyperks About the video for making cooler brackets for Laptop Motherboards, I'll tell you this just in case:
There are motherboards that use either a strange screw layout, or a triangular way of mounting the heatsink instead of a square/rectangle.
Keep that in mind.
Posted : 30/08/2026 8:26 pm

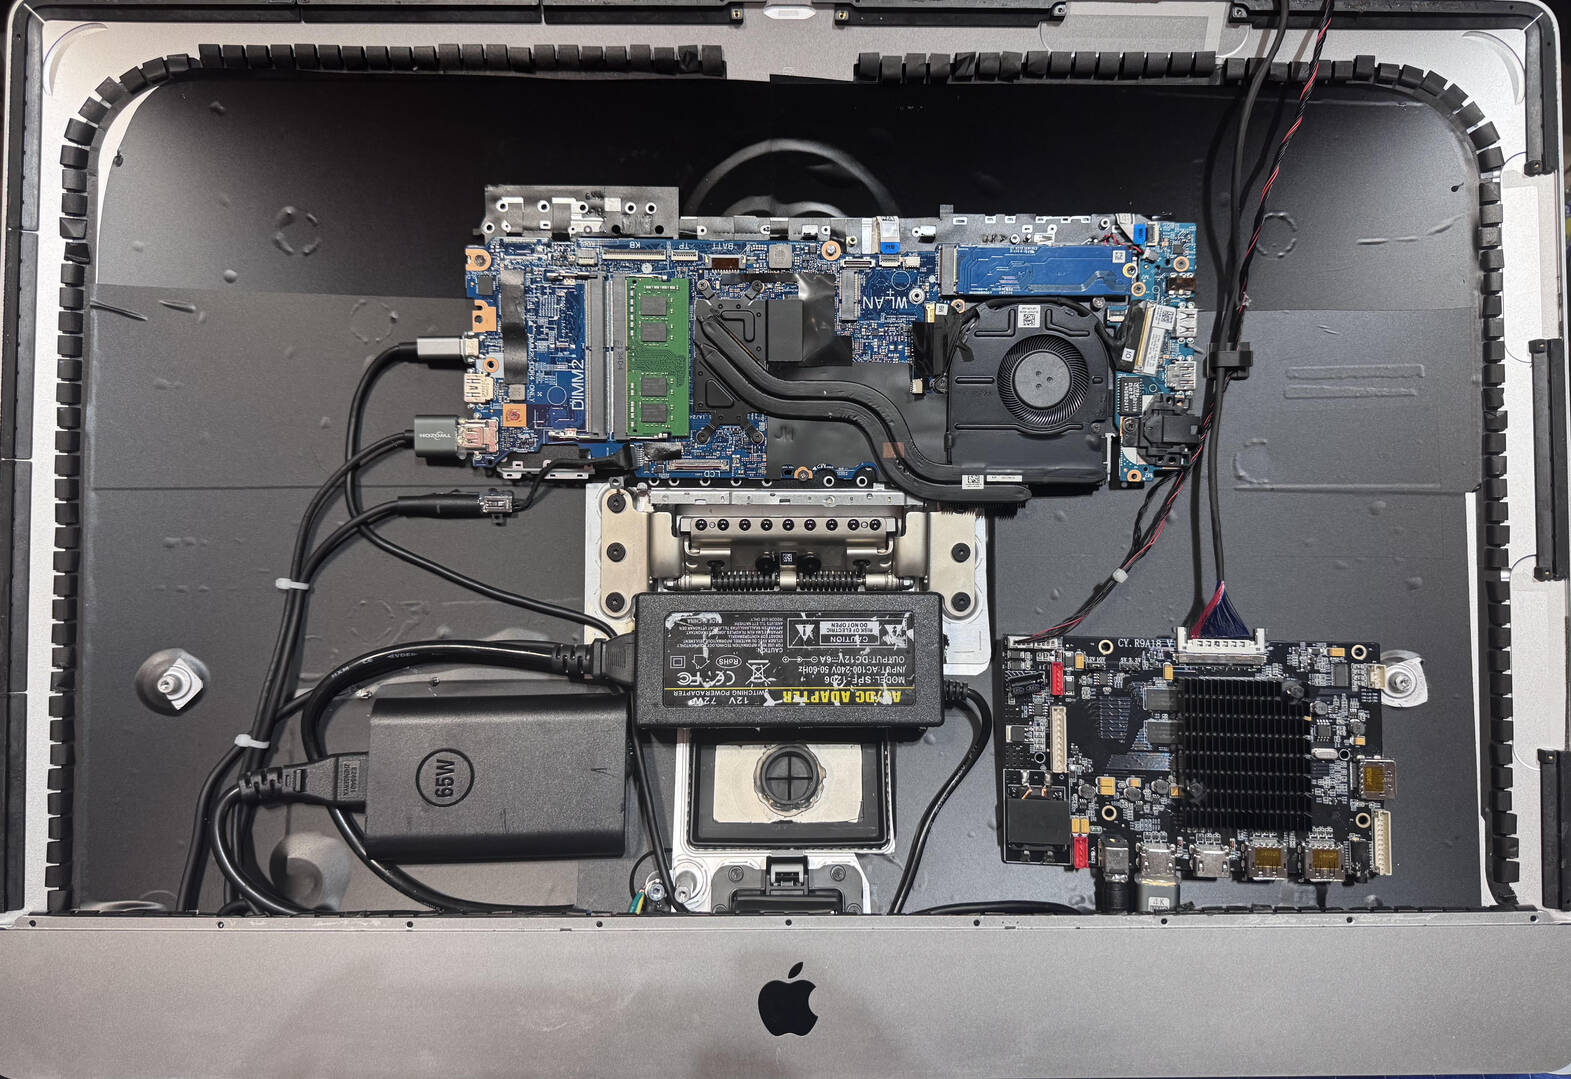
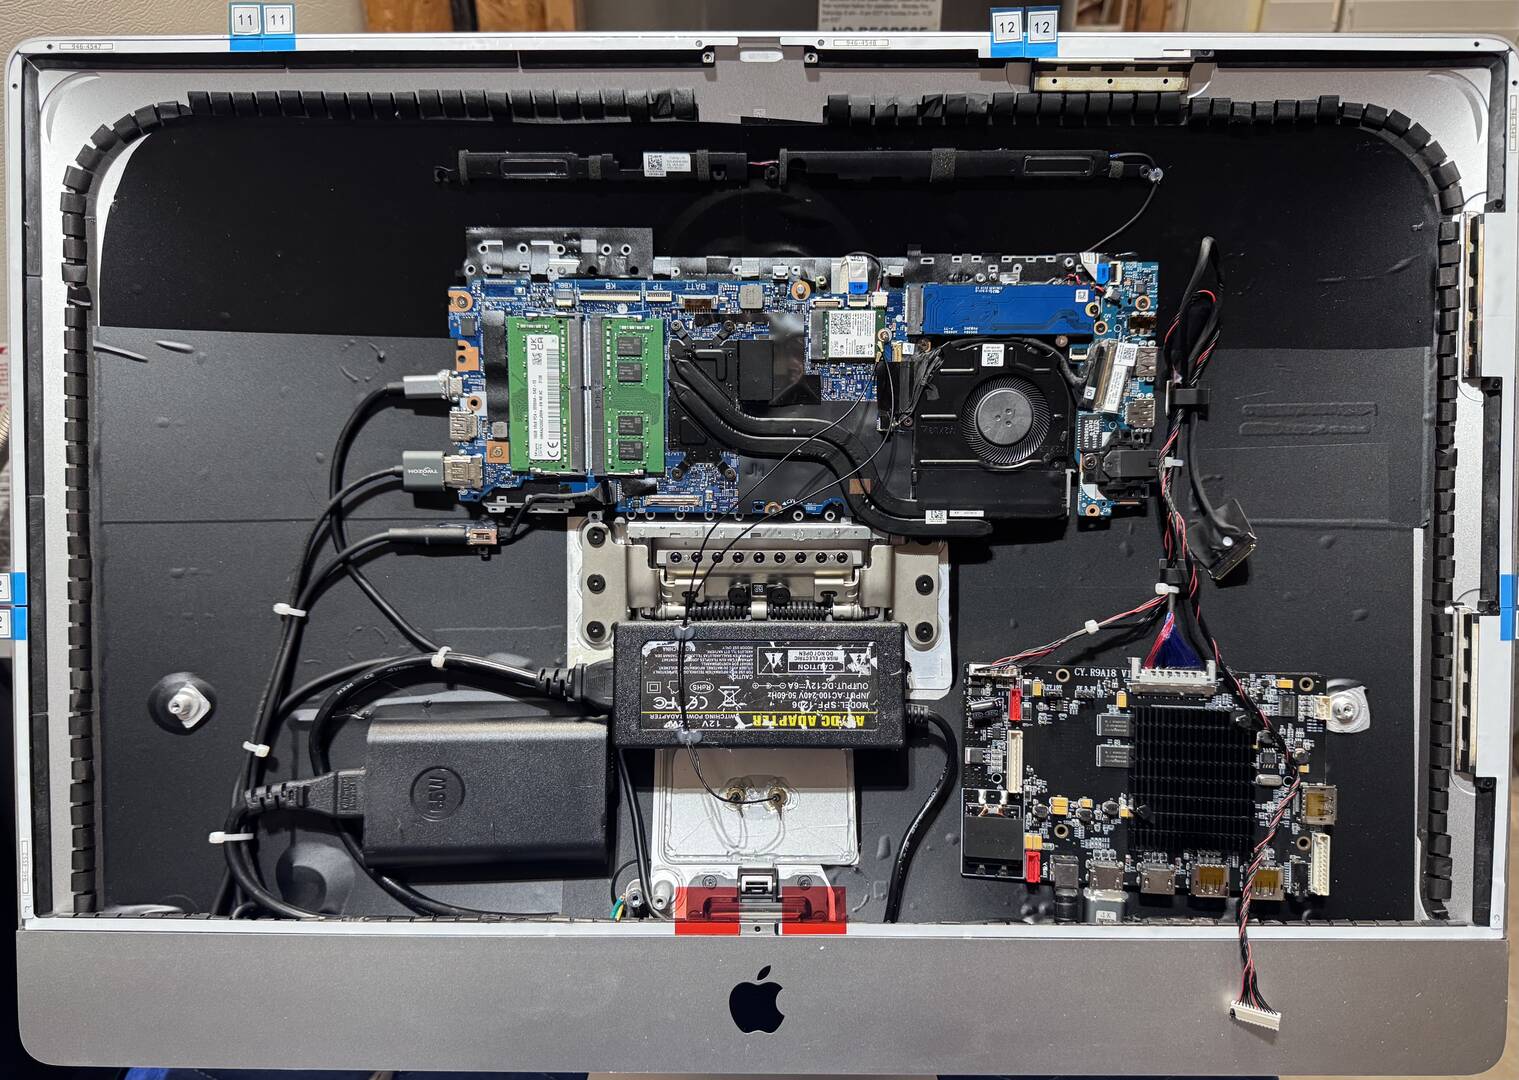
So this is where I’m currently up to with the Frankenmac.
I have some new wifi antennas coming mainly so I can use Bluetooth keyboard and mouse but it all seems to work so far.
Couldn’t quite get the stock speakers and crossovers back into the shell.
A little concerned about airflow but like I said I probably won’t be using this very often. Just wanted to see if it was possible!
This post was modified 2 months ago 3 times by Sterntooth
Posted : 31/08/2026 12:30 pm
Imp Inventor reacted
@lawfulpal5 imn still very interested in that video.. I want to know which tools would even be necessary to do a job like that
Posted : 01/09/2026 12:11 am
@sterntooth Awesome! Got any pictures? I'm interested to see how you managed it. And you could always drill or saw some new airflow holes in the case--I mean, make high-precision incisions to increase cool airflow 😉
My worktable is a site of frequent detonations. Please knock so I don't start a Lithium fire when you startle me.
Posted : 02/09/2026 12:56 am
Posted : 02/09/2026 1:14 am
Muzammil17 reacted
@imp-inventor "high-precision incisions" love that!, just like apple says. 😆
Posted : 02/09/2026 4:18 am
@sterntooth Nice! I'm surprised it all fits flush without displacing the LCD panel (assuming the LCD panel still goes in its original spot), especially that power brick. There's definitely room for some laptop speakers in there if you found some good ones, or maybe some bigger but still flat drivers. Are you using a USB hub to allow things to plug into the motherboard without taking the case apart, or are you just closing the whole thing in there?
My worktable is a site of frequent detonations. Please knock so I don't start a Lithium fire when you startle me.
Posted : 03/09/2026 9:29 pm
Yeah, that display power brick is a beast and there’s only 2 places it can go. I doubt it would fit in a 21” iMac shell.
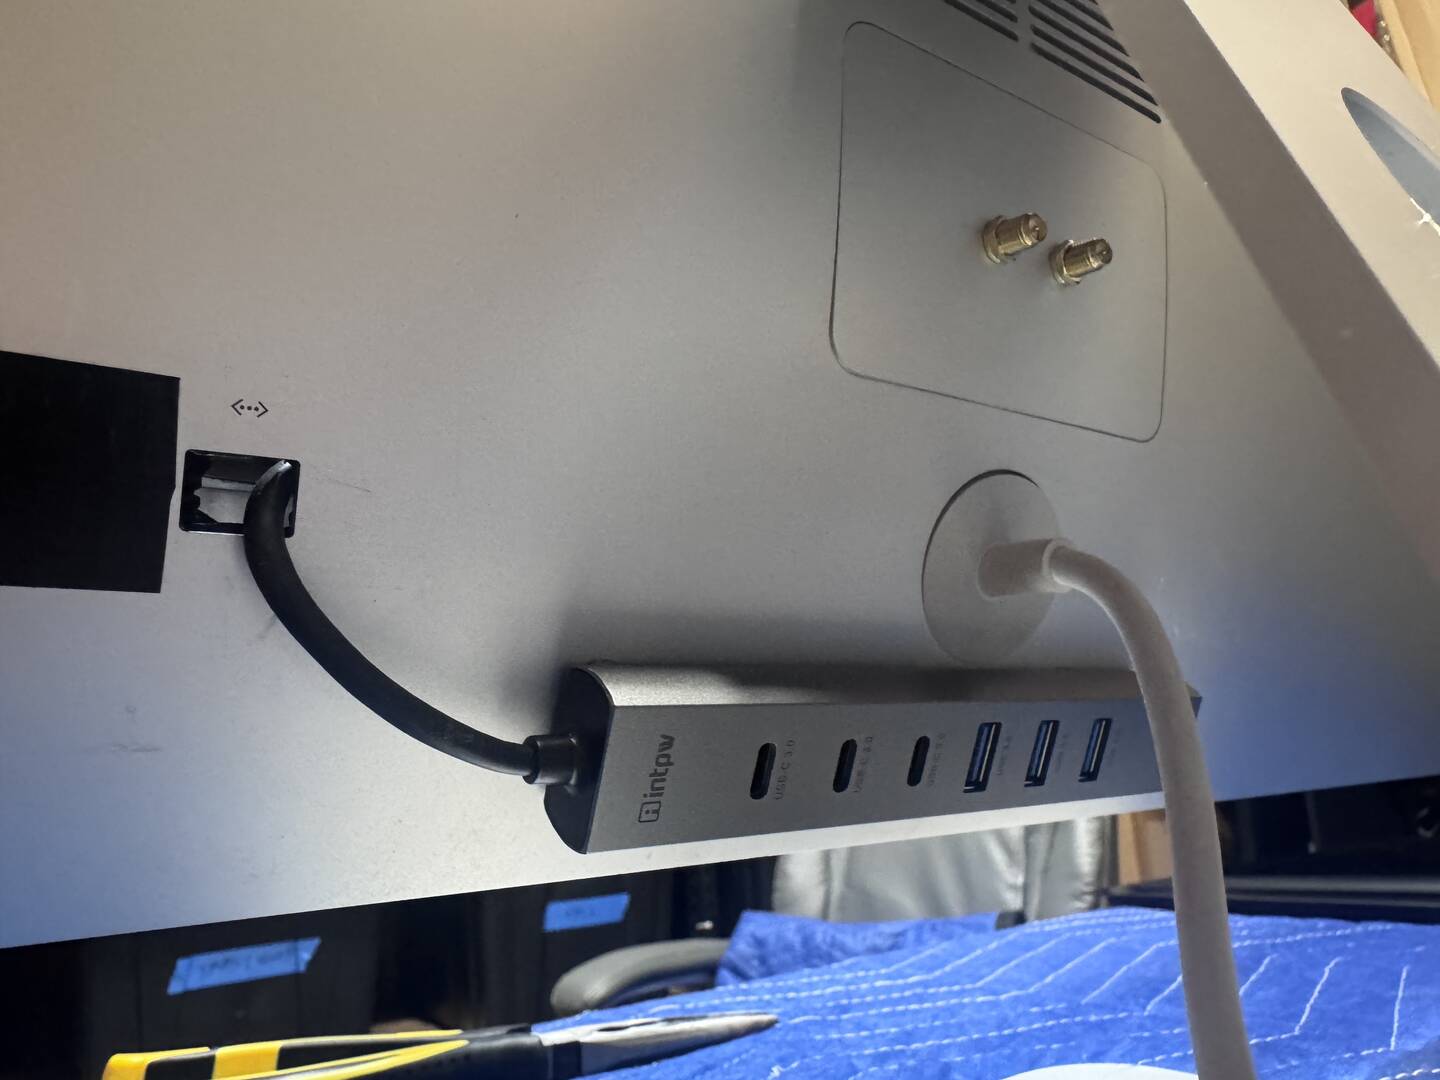
Yes, I mounted USB C hub on the back which has Ethernet.
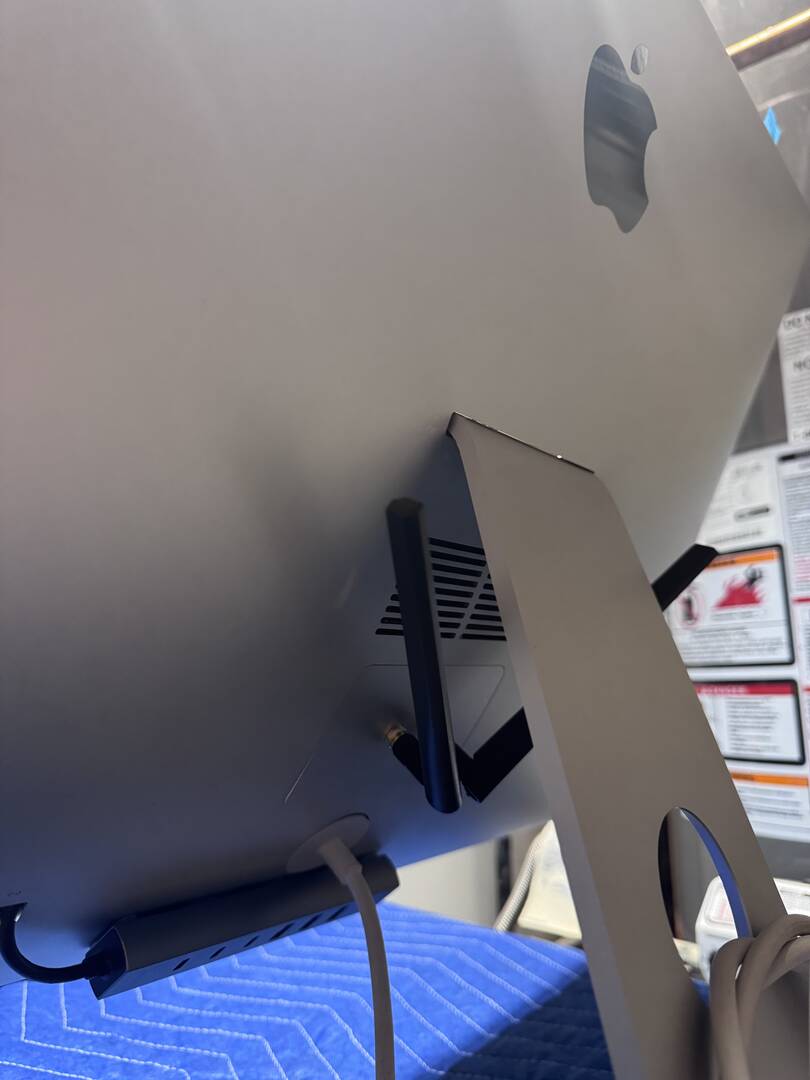
I’m waiting on another stick of RAM before I seal her up again. Also need to decide if I should mount the wifi antennas on the outside and ruin the aesthetic or suffer worse signal but leave them inside. Unfortunately I damaged the original iMac WiFi antennas when I did the original teardown as I never thought I’d use them again!
I did try to plug in the laptop speakers as an afterthought but I think I’ve damaged them when dismantling it. Any ideas for something low profile I could drive off the remaining USB A sockets?
This post was modified 2 months ago 2 times by Sterntooth
Posted : 03/09/2026 10:59 pm
@sterntooth I think as long as the antennae have a little hole to poke through the back of the frame the signal should be okay...not sure though so don't quote me on that 😉 I don't know a lot about specific speaker drivers but I do know that sometimes even cheap ones can sound good. I got a 4-pack of 5w 2" no-name drivers from Amazon a few years ago--only $12--paired them with an amplifier chip, and built a pretty good set of desk speakers. They're not the most sound accurate speakers out there of course but they do the job nicely. All to say that you don't have to buy super expensive speakers to be happy if you're not used to "high quality" sound.
This is the shape I'm thinking of; I've never bought them but I imagine something like this might fit in your case. (Amazon link)
https://www.amazon.com/Full-Range-Advertising-JST-PH2-5mm-2-Compatible-Electronic/dp/B0BHST51PQ?
My worktable is a site of frequent detonations. Please knock so I don't start a Lithium fire when you startle me.
Posted : 04/09/2026 10:31 pm
Update:
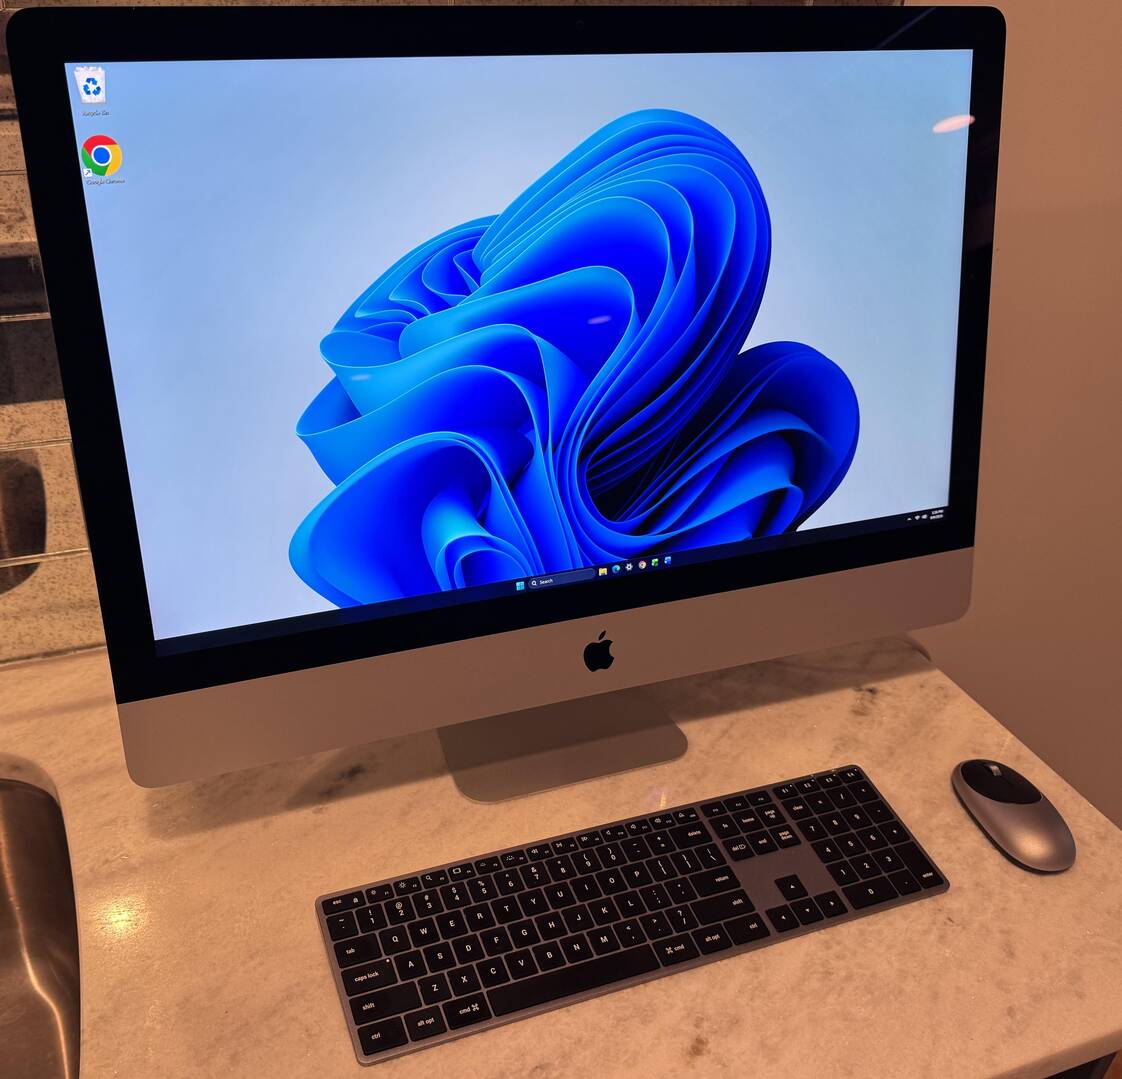
Got it all working well and back together.
Even managed to get the old laptop speakers back in there and they sound ok considering their size and that they're buried in this case!
Looks pretty good if I do say so myself.
Not sure what to do with it now?
This post was modified 1 month ago 2 times by Sterntooth
Posted : 09/09/2026 9:38 pm
Muzammil17 reacted
Looking good! Nice job on fitting the speakers in as well, and yes, it looks pretty good. I bet Apple would love seeing an "iMac" running Windows...
And now you've hit upon the constant problem when you're a person who likes to build things: where do you put the thing you've just built? You don't use it, because you already have something that does the same thing, and yet you don't really want to stuff it in storage.
In other words I have no idea what you should do with it. I face the same problem all the time--I've built 3 DIY monitors for my desk setup, but only ever use one at a time. I used to toggle between them, just because I had them, but now that I've built custom wall mounts for my monitors that's not really feasible. Maybe you could give it to someone?
My worktable is a site of frequent detonations. Please knock so I don't start a Lithium fire when you startle me.
Posted : 10/09/2026 11:55 am
@sterntooth hey man! This looks great.. i can definitely see now how the 27 inch one may be easier.... its so cool to see the photos man... it really motivates me to finish mine up!
I got some questions I would love to pick your brain on..
. I'm working on a 21.5 inch iMac and the space limitations are real.. I'm working with roughly around 32mm of space.. my motherboards highest point is 17mm so i have to place it correctly.. but my attachment methods have to not cost me too much space.. that leads me to my questions
1. How did you go about mounting the motherboard, the power supply and the display board? I'm not sure if the black plate is inside 5he casing is what your using, but what is it?
2. How did you add the attachments for the wifi and Bluetooth antennas? It looks really clean.. are those inserts?
3. Did you use glue to attach the usb hub to the casing?
Posted : 11/09/2026 2:02 am
@sterntooth if you are into homelabbing then you can use the pc as a Home Assistant Dashboard, or any other dashboard, live wallpaper? maybe?
Posted : 11/09/2026 4:10 am
I will just say none of what I have done should be copied by anyone. It's likely dangerous!
It's mainly held on with hot glue! I removed nearly all of the standoffs using pliers and brute force! I used the black vinyl wrap on the case to prevent shorting.
The motherboard is mounted to its original chassis from the laptop which miraculously fit perfectly with a lip that mounts directly above the hinge point of the chassis so that was just a bit of luck. I suppose you could mount standoffs and cut them to length but because of the curved surface it would be a real challenge to get it level.
Getting a power supply into the back of that smaller shell will definitely be a challenge. There may be some lower profile ones you could use and a step down regulator like in his video but you're really limited on where that can go. It will probably end up outside the case.
The wifi antennas were drilled into the RAM access door which I don't think the 21.5" iMac has. You may be able to use the original antenna inside the shell?
Yes the USB hub is glued, the whole thing is glued! It's a massive bodge!
This was mostly components I already had lying around. The only things I purchased were the USB hub and some extra RAM. So it was really just to see if it can be done.
I really love the form factor and aesthetic of these older iMacs, they're such a solid build and it's such a shame to see so many of them get thrown away.
Posted : 11/09/2026 12:02 pm

Hey,
I'm trying to use an old Imac screen as a monitor, had a doubt will this display driver work - https://www.amazon.in/Lancemates-LED-Monitor-Controller-Board/dp/B0FN3XT3DL
two issues most,
1. The cheap driver only outputs 1920x1080
2. Being from india spending 120-300USD on a driver is expensive
How do you do this conversion more affordability.
Posted : 16/09/2026 3:22 pm

Guys I’m thinking of buying a dell precision 5480 motherboard for this is this a good idea or will this not work since it powers on with usb c?
Posted : 29/09/2026 1:42 pm
Page 5 / 5
Prev